Custom cosmetic displays must balance product presentation, structural requirements, brand identity, and available retail space. Turning a concept into a finished fixture involves several stages, from defining product requirements to validating the design and preparing the displays for delivery.
Understanding this process helps beauty brands and retailers plan projects more effectively, anticipate key decisions, and reduce avoidable changes before mass production.
Step 1: Define the Project Requirements
Identify Product and Space Requirements
The first step is to determine what the display needs to accommodate. Lipsticks, skincare bottles, makeup palettes, and fragrance products vary in size, weight, and packaging, affecting shelf spacing, compartments, and structural support.
The installation environment is equally important. A countertop unit for a beauty boutique requires a different configuration from a floor-standing display in a department store. Product dimensions, available space, installation conditions, and estimated order quantities provide the foundation for the initial design.

Choose the Right Display Format
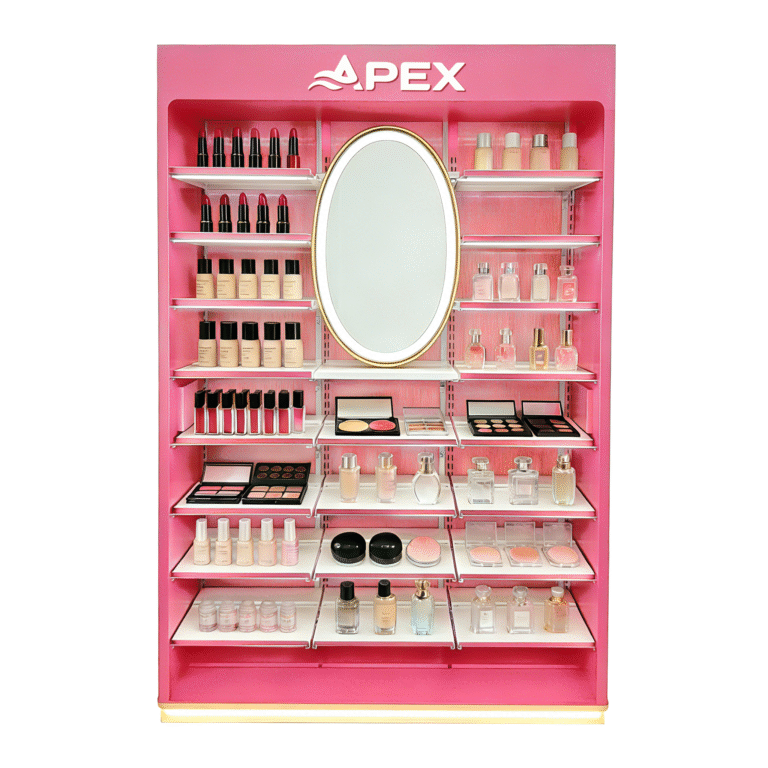
The appropriate format depends on product assortment, available space, and how customers interact with the merchandise. Countertop units suit compact collections, floor-standing fixtures accommodate larger ranges, and wall-mounted displays make use of vertical space.
Exploring available Cosmetic Display options helps brands and retailers compare fixture types and identify suitable formats for their stores.
The goal is to provide sufficient product capacity and easy access without overcrowding the display or obstructing the surrounding retail space.
Step 2: Develop the Display Design
Plan Product Placement and Branding
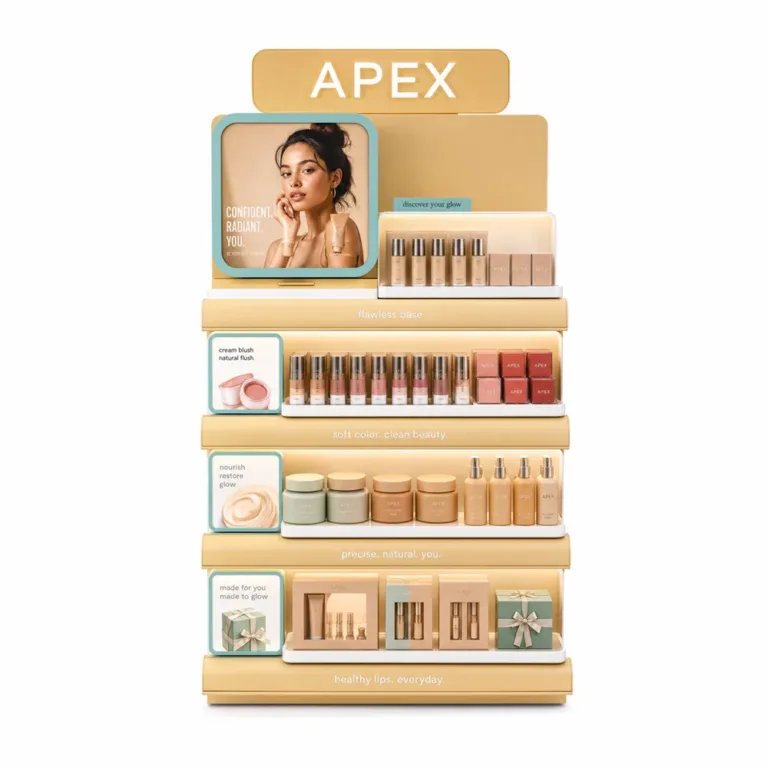
The design team translates the project requirements into a layout that organizes products and communicates brand identity. Shelf positions, tester areas, promotional panels, and signage should work together to create a clear shopping experience.
Featured products may need prominent positions, while items of different sizes require suitable spacing and support. Logo placement, colors, and graphic panels should also be incorporated into the layout rather than added after the main design is complete.
Engineer the Fixture Structure
Structural engineering determines the fixture dimensions, supporting framework, connection points, and load-bearing requirements. Metal frames may support shelves and larger components, while other materials serve decorative or product-display functions.
For projects covering multiple stores, standardized dimensions and assembly methods help maintain a consistent design. Transportation, installation, and access to components requiring maintenance should also be considered before the drawings are finalized.
Step 3: Select Materials and Approve the Sample
Specify Materials and Finishes
Material selection depends on the fixture’s intended appearance, durability, structural needs, and budget. Metal can provide structural support, while acrylic, glass, and wood-based panels can be used for shelves, decorative surfaces, and product presentation.
Surface finishes, colors, printed graphics, and branded details should be defined according to the approved design. Establishing these specifications helps the manufacturer select suitable production methods and reproduce the intended appearance across the order.
Integrate Lighting Where Needed
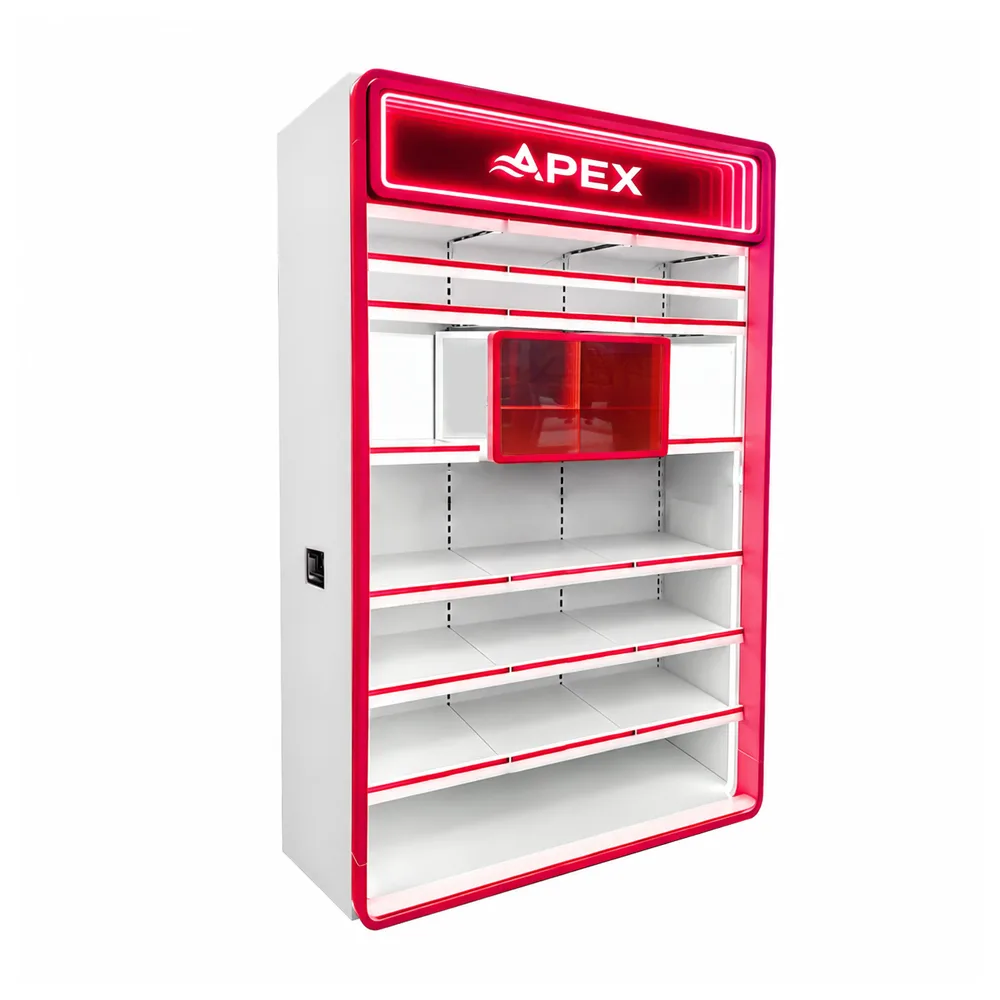
LED lighting can highlight featured products and improve visibility. Depending on the layout, lights may be integrated into shelves, header panels, or other fixture sections.
For example, the Custom Cosmetic Display Stand features integrated lighting and adjustable shelves for flexible product presentation.
Lighting plans should account for wiring routes, power access, component placement, and maintenance. Coordinating these details with the fixture structure helps prevent modifications during assembly.
Review Technical Drawings and Approve the Sample
Technical drawings should document the overall dimensions, shelf arrangement, materials, finishes, branding, and lighting configuration. These drawings establish the specifications used for sample development and production.
A physical sample allows the design to be evaluated before mass production. Checks should cover product fit, shelf accessibility, structural stability, finish quality, logo placement, and lighting performance where applicable.
If the sample does not meet the agreed requirements, revisions should be completed before final approval. This provides an opportunity to resolve design issues before they affect the full production order.
Step 4: Manufacture and Inspect the Displays
Produce and Assemble the Components
After sample approval, the manufacturer produces the components according to the confirmed specifications. Depending on the design, this may involve metal cutting and forming, welding, panel machining, printing, and surface finishing.
The components are then assembled into the finished fixture, including the frame, shelves, panels, product holders, and lighting where required. Dimensional accuracy, alignment, and secure connections are important to ensure that the parts fit together correctly.
For multi-store orders, following the same approved specifications helps maintain consistent dimensions, finishes, and branding across the production run.
Inspect Quality and Prepare for Delivery
Final inspection verifies that the displays meet the agreed requirements. Checks may include dimensions, structural stability, surface finish, logo accuracy, component alignment, and lighting operation.
Packaging should protect the fixtures against scratches and impact during transportation. Depending on the design and shipping arrangements, displays may be delivered fully assembled or in separate sections.
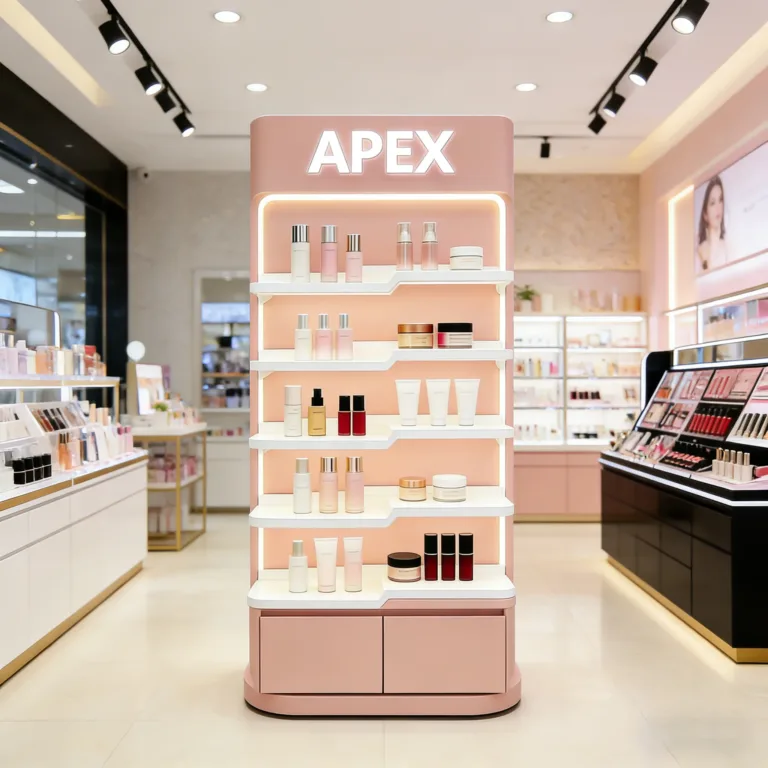
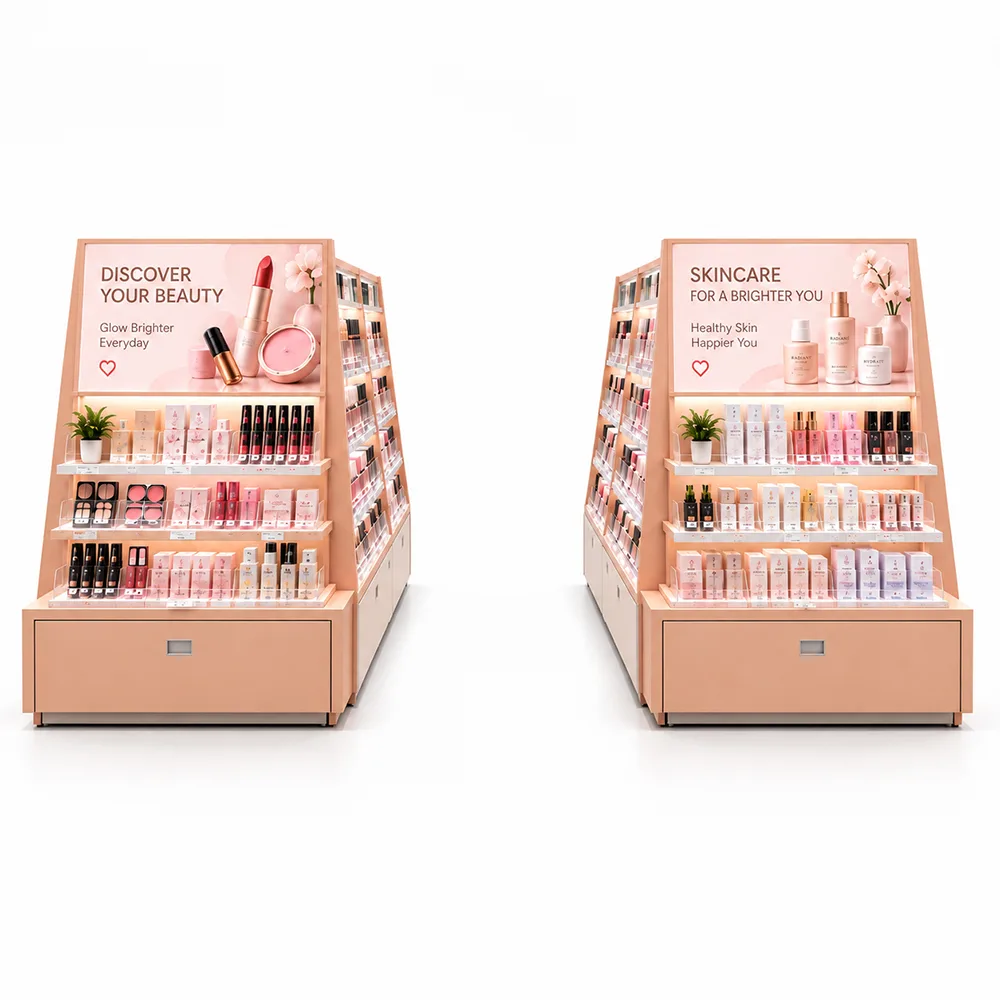
For projects involving coordinated fixtures throughout a retail space, Custom Cosmetic Store Fixtures offers a complete solution for cosmetic retail environments.
Clear labeling, protective packaging, and assembly instructions can help simplify installation, particularly when displays are shipped to multiple locations.
Frequently Asked Questions
How long does custom cosmetic display manufacturing take?
The timeline depends on design complexity, material availability, sample revisions, order quantity, and production scheduling. Displays with integrated lighting or multiple fixture types may require additional coordination. Sample and production lead times should be confirmed during project planning.
What information is needed to start a custom display project?
Useful information includes product dimensions, estimated quantities, store measurements, preferred display format, branding artwork, material preferences, budget, and delivery requirements. Reference images or existing technical drawings can also help the manufacturer assess the design.
How can brands maintain consistency across multiple stores?
An approved sample and standardized technical drawings establish a common reference for production. Consistent materials, dimensions, finishes, and branding help maintain a uniform appearance. Modular components can accommodate differences in store layouts where necessary.
Conclusion
Manufacturing custom cosmetic displays involves coordinated design, material selection, sample approval, production, and quality inspection. Addressing these requirements at the appropriate stages helps reduce revisions and deliver fixtures that meet product, branding, and retail-space needs.
To discuss your project or request a quotation, Contact Us with your product dimensions, design references, or retail display specifications.